Coating thickness gauge meter Fe/NFe 2 in One CM8806FN China supplier
-Large and clear TFT Screen(160x128TFT)
-Auto recognition of the substrate material (Fe or NFe)
-Metric/imperial switchable (mil/um switchable)
–Single / Continue measurement selectable
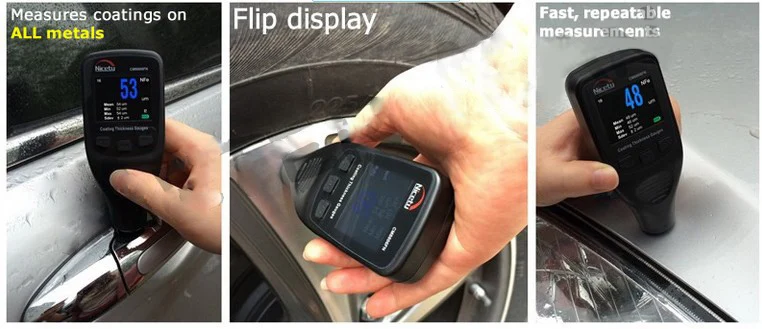
–Flip display
–99 data memory
-Simultaneously displays 5 readings: (easy for data analysis and comparison)
Measuring Reading , Average Reading , Max. Reading , Min. Reading and Standard Deviation.
Range: 0 – 1250um; 0 – 50mil (Max. add to 2000um/80mil)
Resolution: 1um, 0.1mils
Accuracy: ± (3%+2um), ± (3%+0.1mils)
Response time: 0.6 sec
Sensor type: Fe & NFe 2 in 1
Large and Clear TFT Screen(160x128TFT) + Flip Display
Easy Reading at any condition and angle
Battery: 1.5Vx2 AAA size
Dimension: 119x52x28mm
Weight: 0.56kg
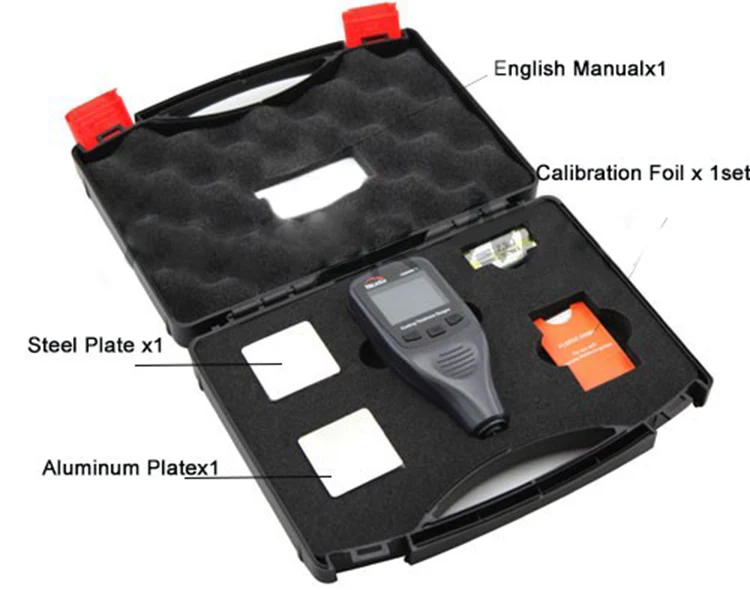
Packing: carrying case, substrate blocks (steel x 1pc, Aluminumx1pc),
Calibration foils x 1set, English manual
Fe type gauge is good for the thickness of non-magnetic coating on Ferromagnetic base (e. G. Iron, nickel and more), like plating layer, lacquer layer, porcelain enamel layer, phosphide layer, copper/aluminum and some alloy tiles papers and others.
NFe type probe for measuring the thickness of any non-magnetic coating on Non-Ferromagnetic metal base (aluminum, brass, stainless steel, etc. ), like anodizing, varnish, paint, enamel, plastic coating, power layers, and others.
This handheld car paint thickness gauge meter CM8806FN is used to quickly and accurately measure thickness of coating or plating on metal surface. It not only indicates thickness of coating or plating but also automatically identifies which base material is used (Fe means magnetic metals such as iron & steel; NFe means non-magnetic metals, such as aluminum, alloy & non-magnetic stainless steel). It is applicable to measure various coating or plating, including non-magnetic painting, ceramic, enamel, plastic, rubber coating on magnetic base materials such as iron and steel, non-ferrous metal plating such as nickel & chromium, anticorrosive coating in chemical and petroleum industry, non-conductive painting, plastic coating and anodic oxide film on non-magnetic conductive devices, such as on aircraft or spacecraft, vehicle, home appliances, al-alloy door & window as well as other aluminum ware, and conductive coating or plating as long as the conductivity of coating or plating is at least 3 times less than that of base materials (such as copper with chromium plating).
The calibrations of CM8806 Series Coating Thickness Gage
This device has been calibrated before delivery and self-inspection occurs every time before measurement, therefore, in most cases, the only thing needing to be checked is whether there is coating or plating. If no, zero-in is suggested.
Zero-In: press “+” and hold for 2 seconds, and “000” will blink on screen. In case of no coating or plating on base materials, the measured value will return to zero. After zero-in, the device can be used to accurately measure thickness. However, due to abnormal base material or severe environment, accumulated error may occur, in this case, standard plastic film needs to be used to further calibrate the device.
Calibration with Standard Plastic Film: use the device to measure standard plastic film, in case the measured value is beyond the accuracy range as specified in user manual, please move the device away from the film, and press “M” and hold for 2 seconds so that the measured value will blink and buzzer will sound at the same time. Press “+” or “-” (or long press “+” or “-” for fast adjustment) to adjust measured value to be the same as actual thickness. Finally, press “M” to lock up.
Two standard plastic films can be used for better calibration, i.e. a thin film and a thick film. In case the coatings or plating are relatively close to each other in thickness, it is enough to use only one standard plastic film with close thickness.
Initialization: in case zero-in or standard plastic film does not work, please initialize this device: press “-” and hold for 2 seconds, “0”, “00”, “000” will blink in turn during initialization. In order to ensure high measurement accuracy, it is suggested to do zero-in after initialization. All previously saved values and settings will be cleared after initialization.
Shutdown: shutdown interface will appear in case of no operation within 90 seconds. Please refer to below figure:
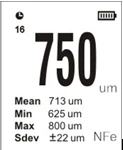
 means the device will be powered off in 3 seconds.
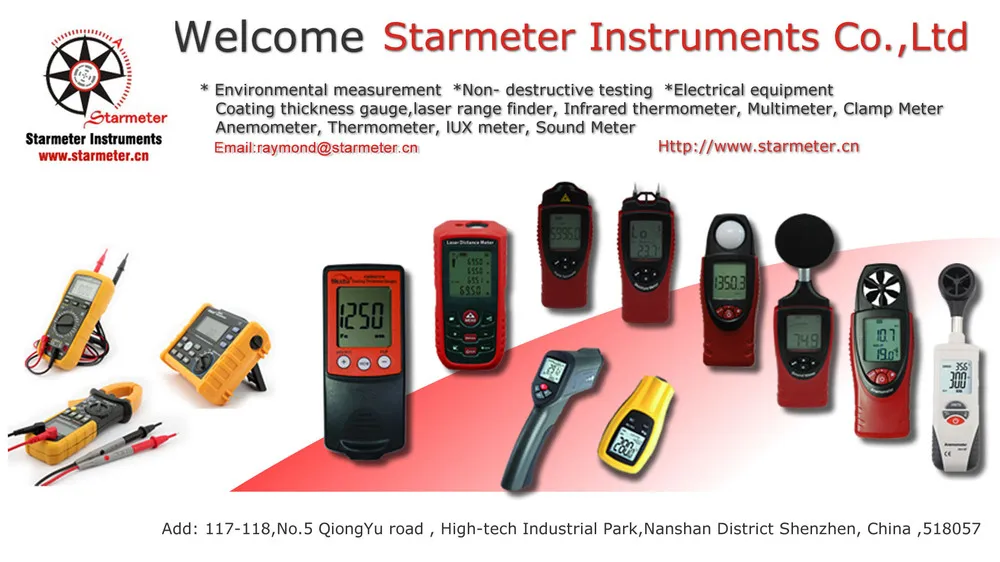
Starmeter Instruments Company.,LTD ,located in Shenzhen Guangdong, was established in 2002. Our company is a hightech enterprises based on research and development, manufacture and distribution of instruments and meters, specialized in promotion and distribution of the home made instruments in the international market.
Our main products lines are non-destructive testing and environment measurement products,car paint thickness gauge meter, Laser Distance Meter ,Infrared Thermometer,Anemometer, Tachometer , Sound Level Meter , Lux meter ,Humidity Meter and so on.All of our products have CE, ROHS certification, 80% of the products were sold to more than 30 Western countries and another 20% to Asian countries and home.Our “NICETY” brand has taken credit for high accuracy,good durability and elegant design for years…
Why would you choose us?
We offer factory price products
We accept small quantity & wholesale orders (NO MOQ)
We keep our stocks available for anytime order
We offer the lowest shipping cost via DHL, FedEx or UPS
Super customer support: post sale support that responds within 48 hours
Wide range of car paint thickness gauge meter




Reviews
There are no reviews yet.